The Battle of Brickton
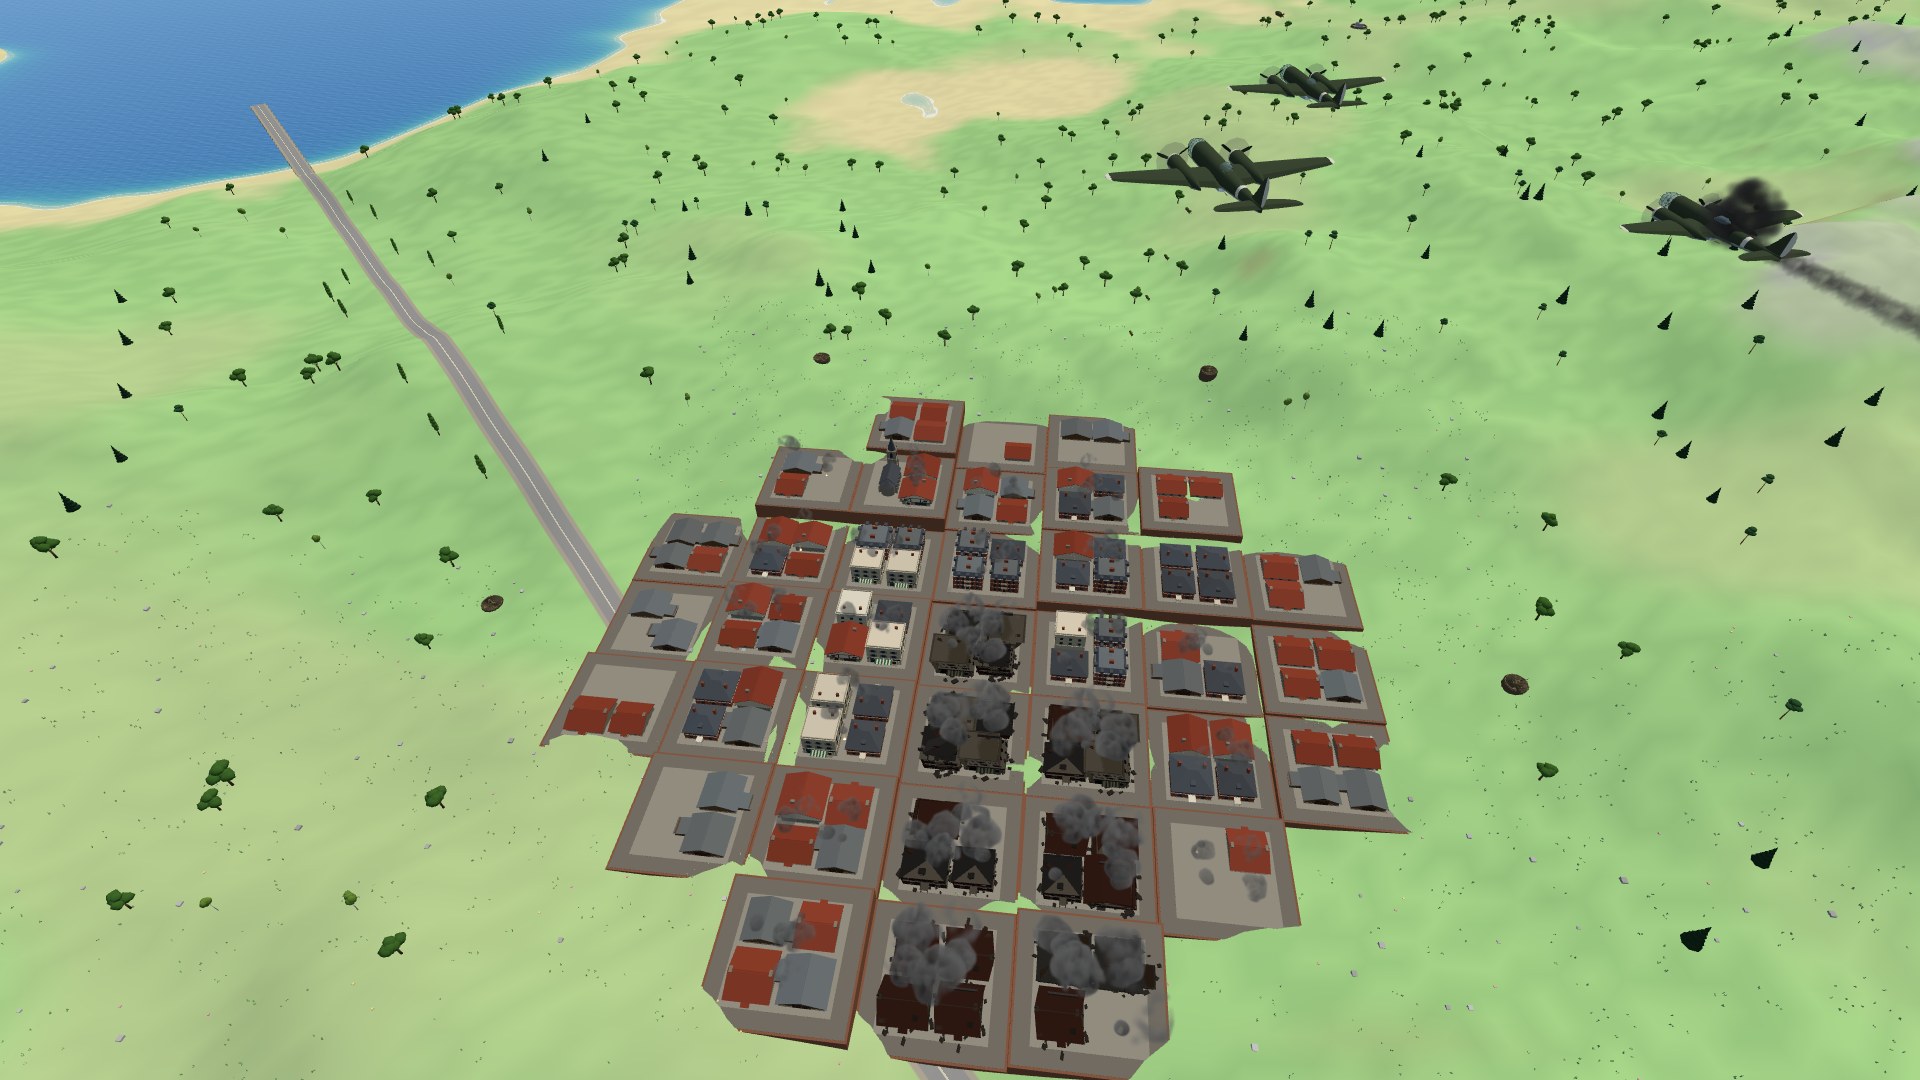
For as long as there have been bombers on the island, they've had flak pits and fuel farms to hit. Now they have a town. Brickton stands right on the border, a market town of red roofs and cobbles on the hillside — and every round, somebody comes to burn it.
One town, two jobs
Every round of the Battle of Brickton splits the sky in two. One side is the raid: its job is to set the town alight, and it wins the moment 70% of Brickton is burning. The other side is the defense: it wins by shooting down 32 of the raid's aircraft, or simply by holding out until the bell with the town still standing. When the round ends, the sides swap — so every pilot gets to burn Brickton, and every pilot gets to save it.
Brickton sits right where the two halves of the island meet, the same flight from either side's airfield, so neither side's home flak decides the fight. You'll find it on the minimap as a block in the defender's color, with a ring around it that fills orange as the town burns.
Flying the raid
The town is brick and timber, and it takes bombs to bring it down — your guns won't do it. So the raid wants heavies: a B-17 with twelve bombs in the bay, an He 111 with eight, or an A-20 Havoc or a P-38 carrying enough to flatten a block on its own. Line up on the rooftops, hold the bomb release as the town slides under your nose, and walk the stick across the streets. Corsairs can put their rockets into it too.
When the bay is empty you don't have to throw the airframe away. Turn for home and overfly your own field below 1,400 m; the ground crew bombs you up in a few seconds and you're back on the way to Brickton. Your fighters' job is simple and hard: stay with the bombers, because the defense is coming for them.
And keep your pull-out above the spire. The town is solid — fly through a roofline and you've hit it.
Holding the town
The defense flies fighters, and its first rule is **get the bombers**. The heavies have to come to you, in the same air, on the same few headings, and every one you knock down before it reaches the rooftops is a stick that never falls. Every raider lost, bomber or escort, counts against the raid's 32. The city's ring of flak guns flies your colors, too — take a seat on one from the respawn screen and fight from the streets.
Watching it burn
Brickton has six quarters — Market Square in the middle, the Cathedral Quarter under its spire, the Brickworks, the Rail Yards, Mill Row and the Old Town round the edge. Hit a block and it starts to smoke; hurt it badly and it catches; finish it and it falls to rubble and burns for the rest of the round. Flatten a whole quarter and both sides hear about it — the raid's radio cheers it down, the defense's mourns it — and a banner goes up each time another quarter of the whole town is ablaze. The score line at the top of the screen says it plainly: how much of Brickton is burning, and how many raiders have gone down.
The bots play both sides, so the town is never quiet: there's always a raid forming over somebody's airfield and a patrol circling the rooftops waiting for it.